How to Tie the San Diego Jam Knot [Video Tutorial and Step-by-Step Instructions]
- By: Luke Simonds
- on
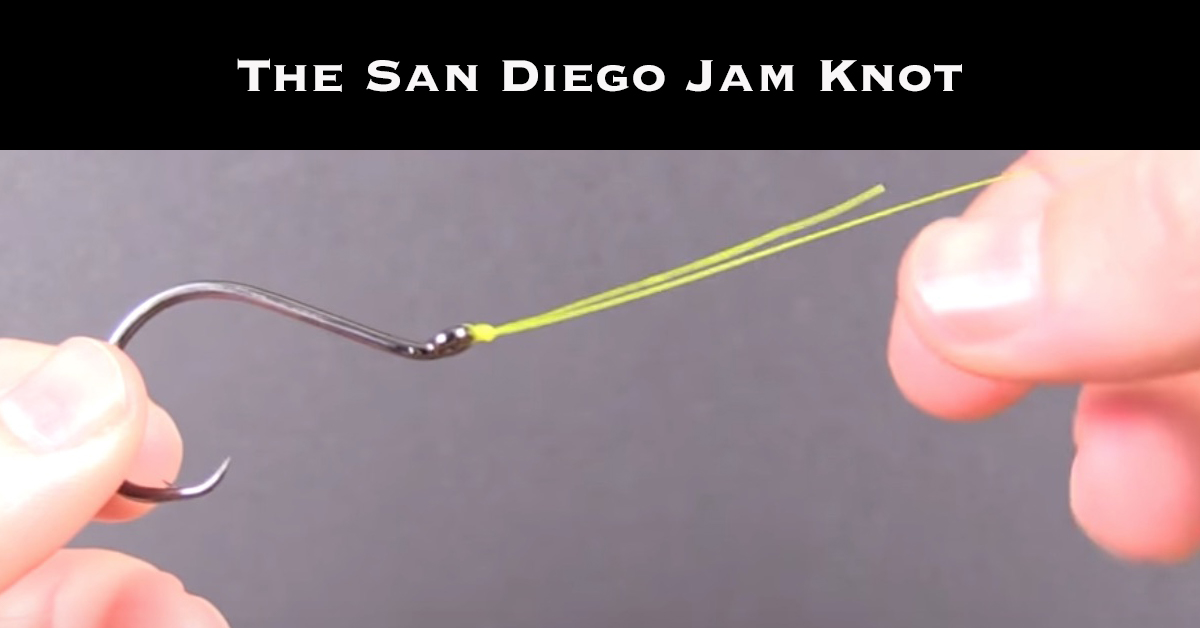
The San Diego Jam Knot
The San Diego Jam Knot is a strong knot that is a great choice for connecting hooks to fishing line. This knot was originally designed by west coast fishermen to tie fishing line to heavy iron jigs when targeting big tuna. It’s a great knot for:
- A quick and reliable terminal knot connection
- A knot that can be used with braid & monofilament line
- A good knot for connecting mainline straight to the hook
In this article, I go over the step-by-step instructions on how to tie the San Diego Jam Knot. And at the bottom of this post, you can see a detailed video showing you exactly how to tie this knot.
Step-by-Step: The San Diego Jam Knot
In this section, we go over each step for tying the San Diego Jam Knot.
For this knot, we used braided line for a terminal knot connection.
Note: We also made some slight improvements in the tying process to make the knot more effective for braid.
Step 1: Put the Tag End of Your Line Through the Eye of the Hook
Put the tag end of your fishing line through the eye of the hook. Pull about six to eight inches of tag end through the eye of the hook.
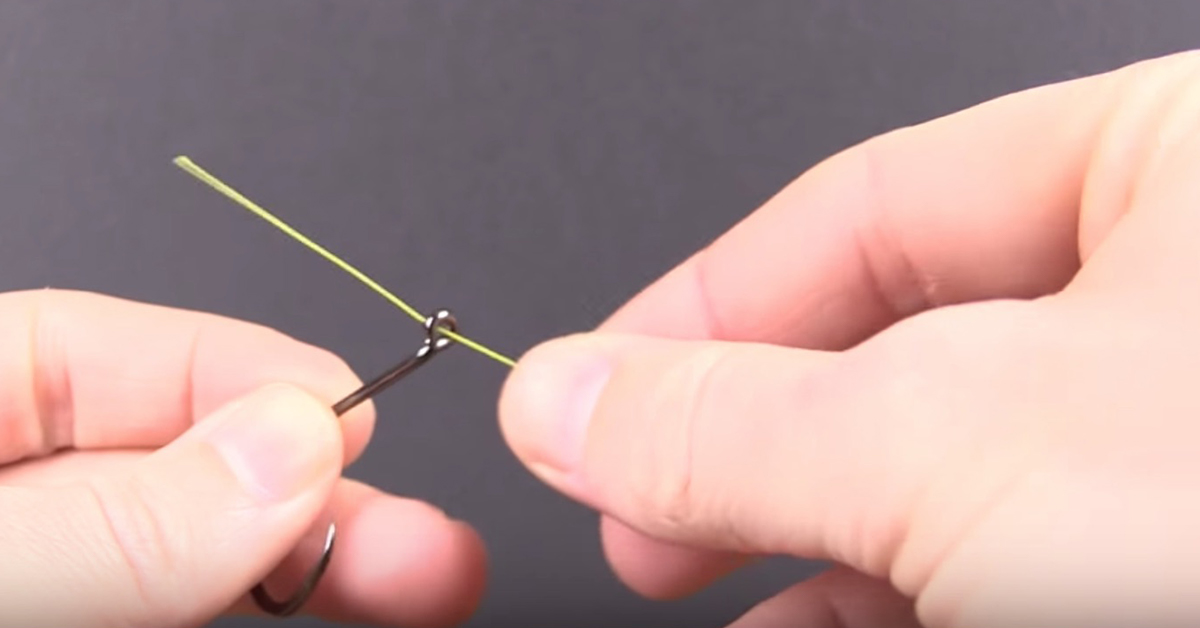
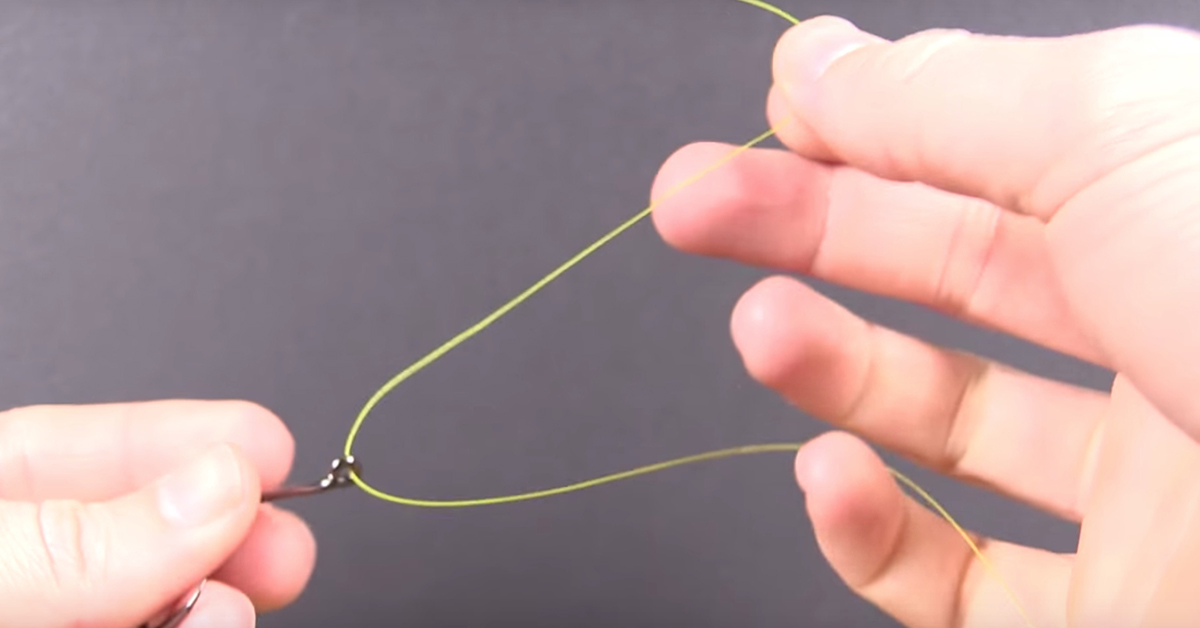
Step 2: Put the Tag End Through the Eye of the Hook Again
Put the tag end back through the eye of the hook a second time. Pull the tag end taut so the line is tight around the eye of the hook.
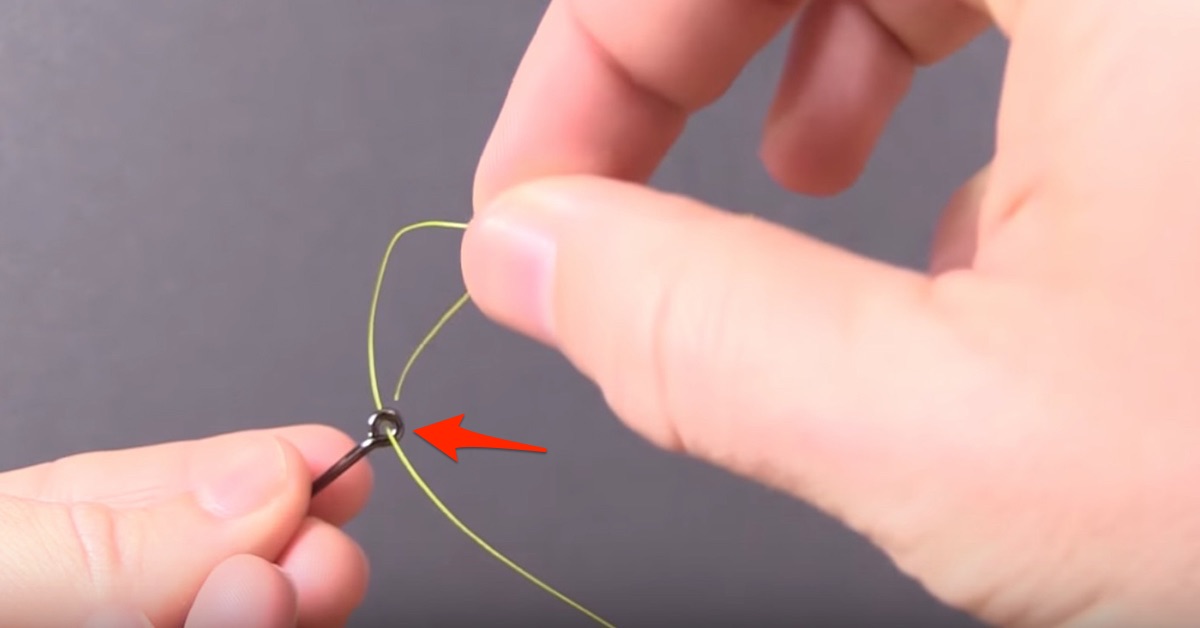
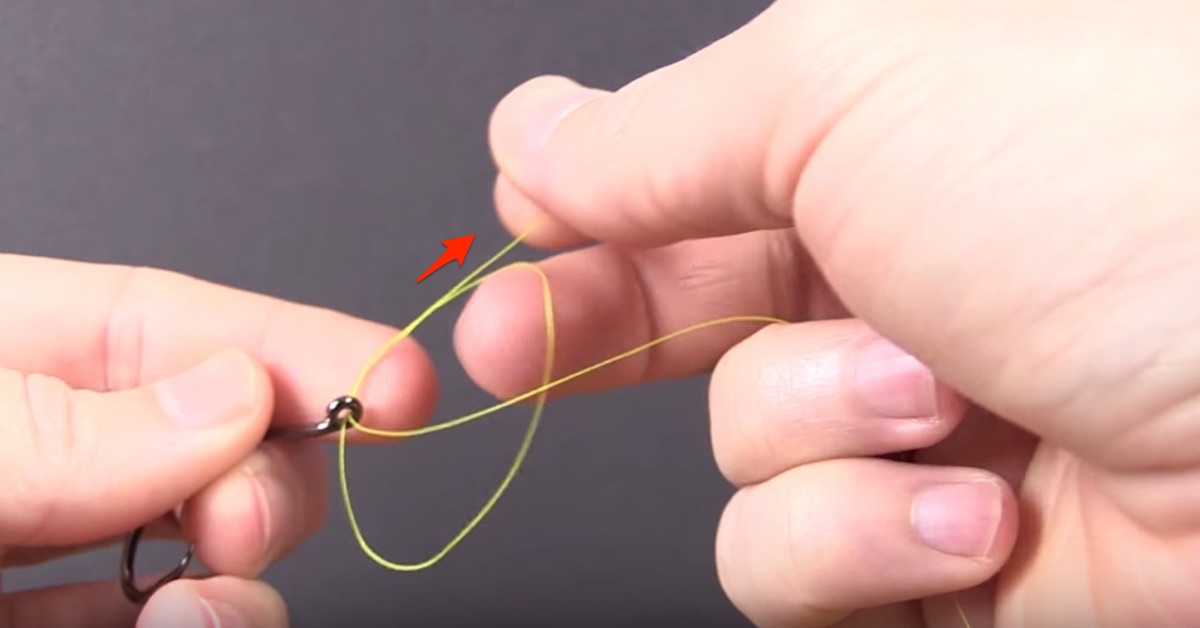
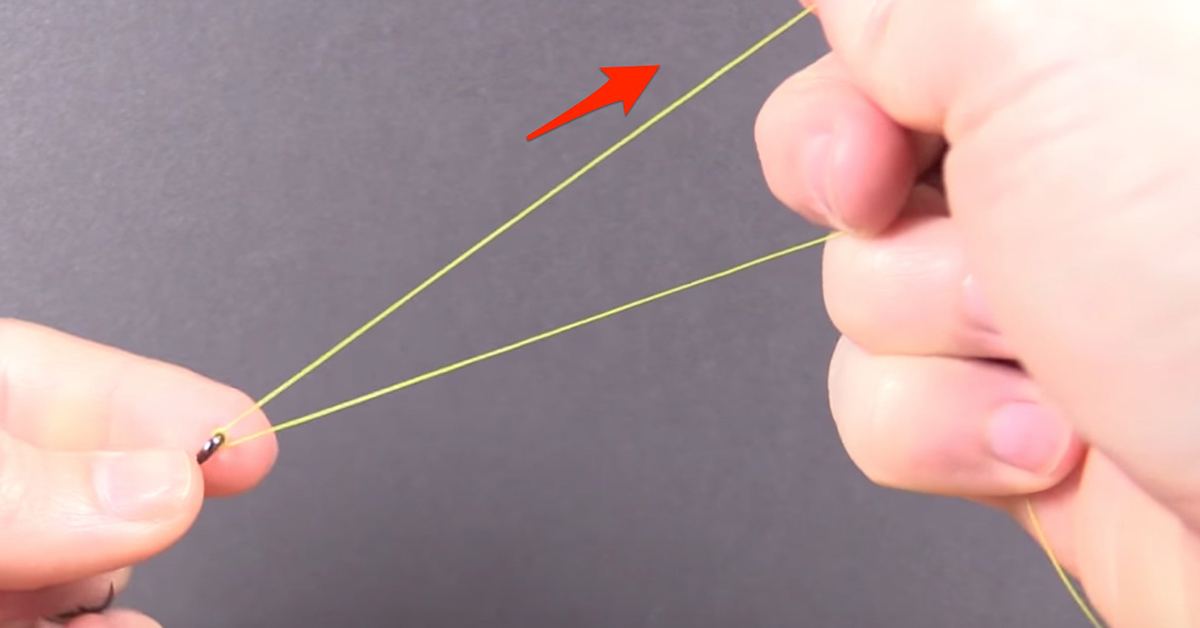
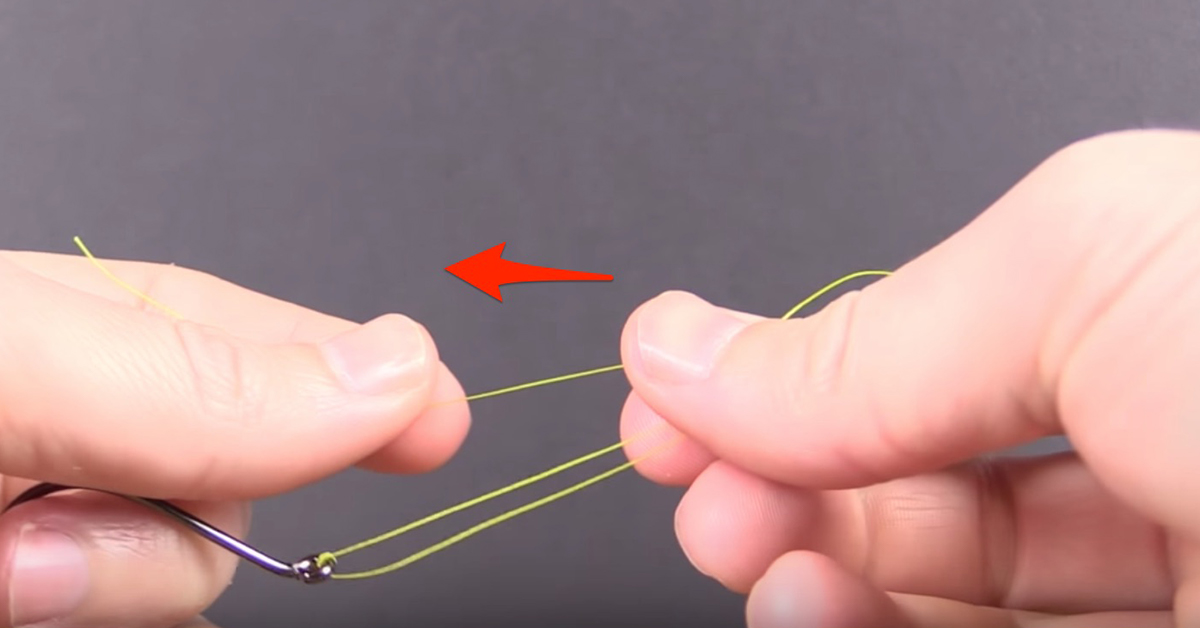
Step 3: Pinch the Tag End and Mainline Halfway Down the Overlap. Then Fold the Tag End Toward the Hook
Pinch the tag end of your line and mainline about halfway down of where the two lines overlap. Then, fold the tag end of your line toward the fishing hook.
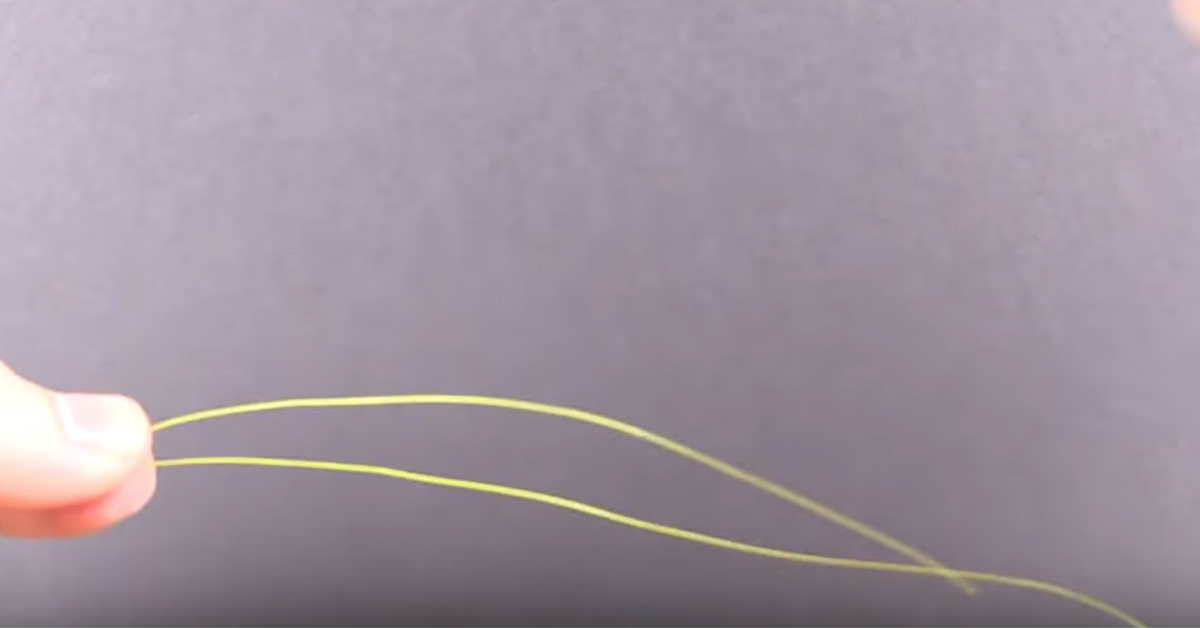
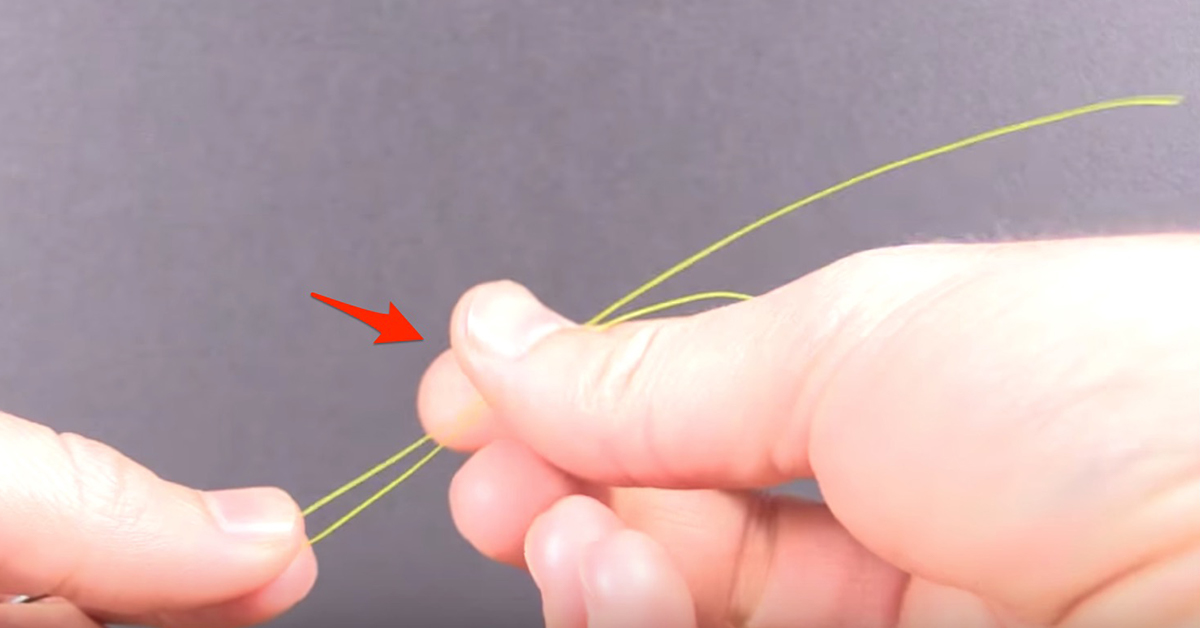
Step 4: Make 10 Wraps Around the Doubled Lines Using the Tag End
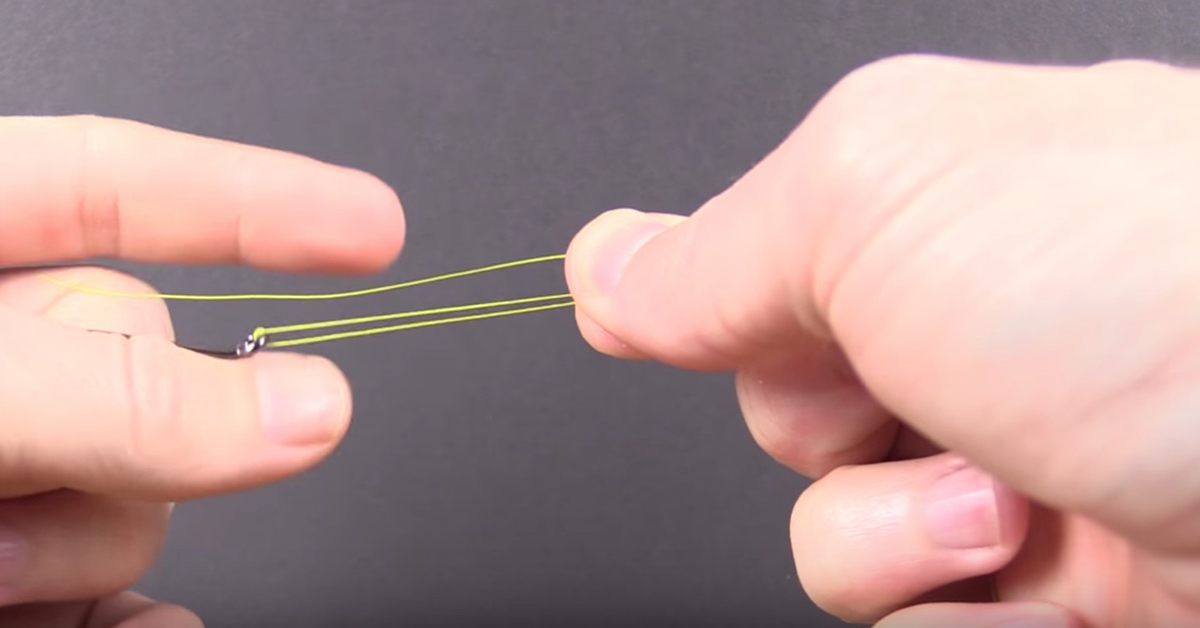
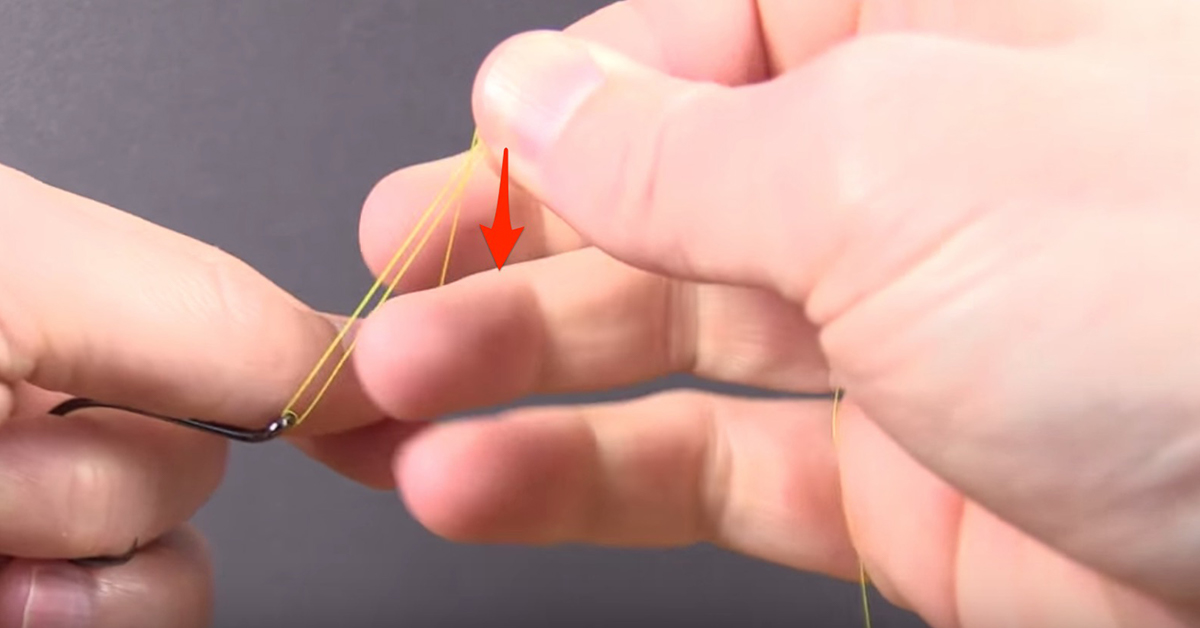
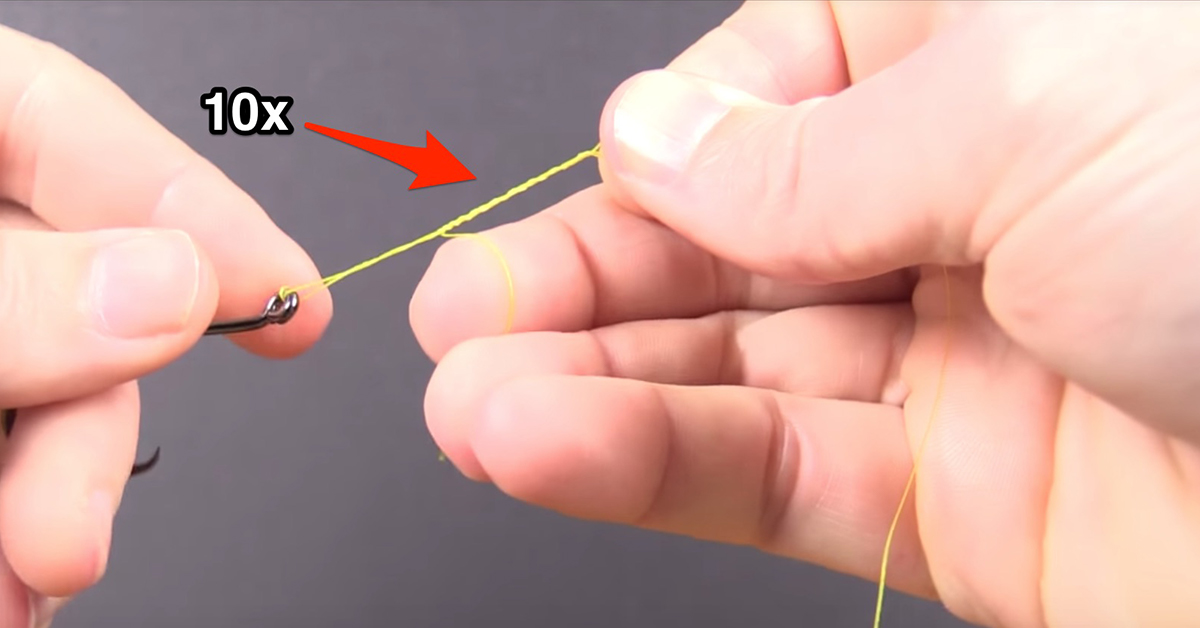
Using the tag end of your line, make 10 wraps around the doubled braided lines. If you’re using mono or fluorocarbon line, you only need to make five wraps during this step. Make sure all your wraps go in the same direction down the lines toward the hook. Your two fingers holding the double lines should now be holding a loop.
Step 5: Put the Tag End Through the Loop Above the Hook Eye
Put the tag end of your line through the loop just above the hook eye.
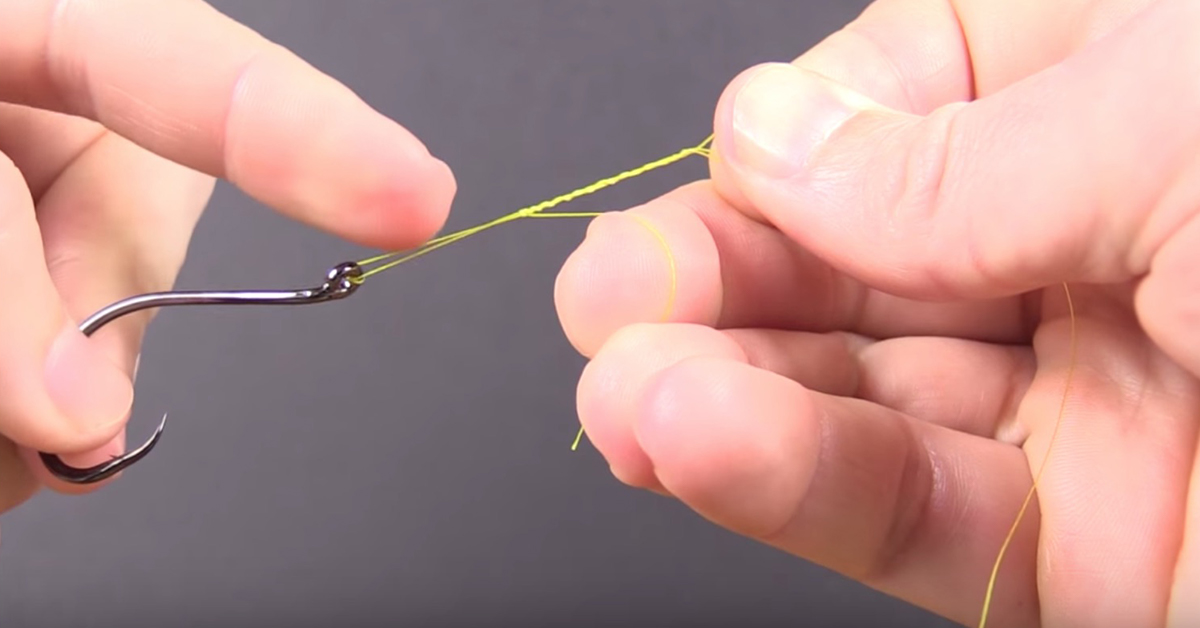
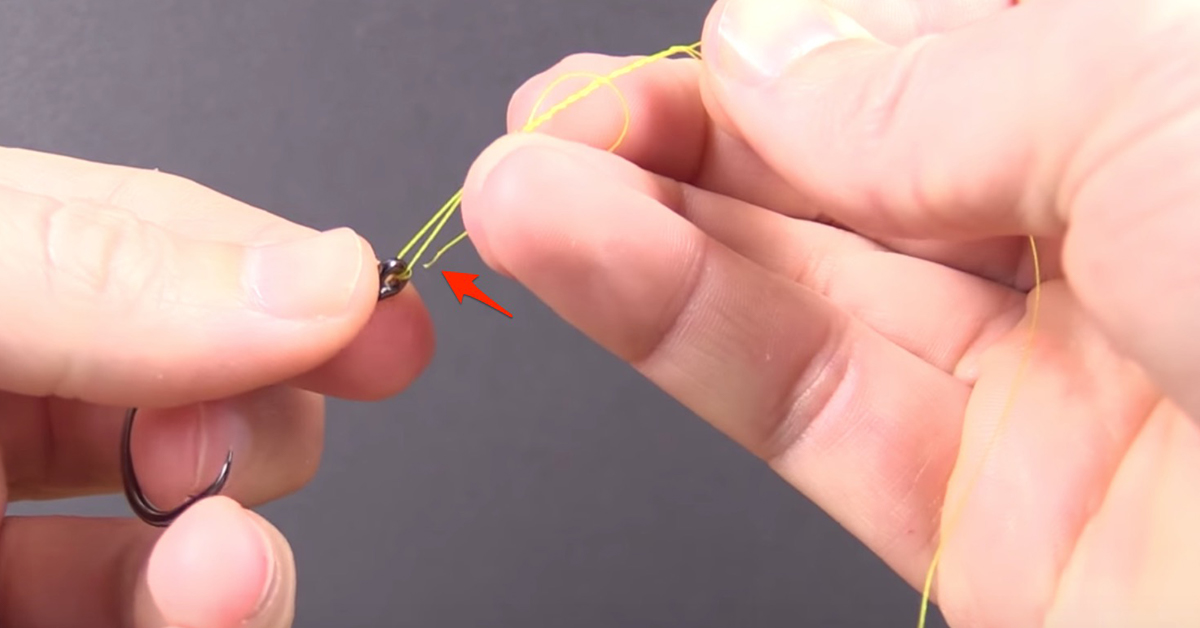
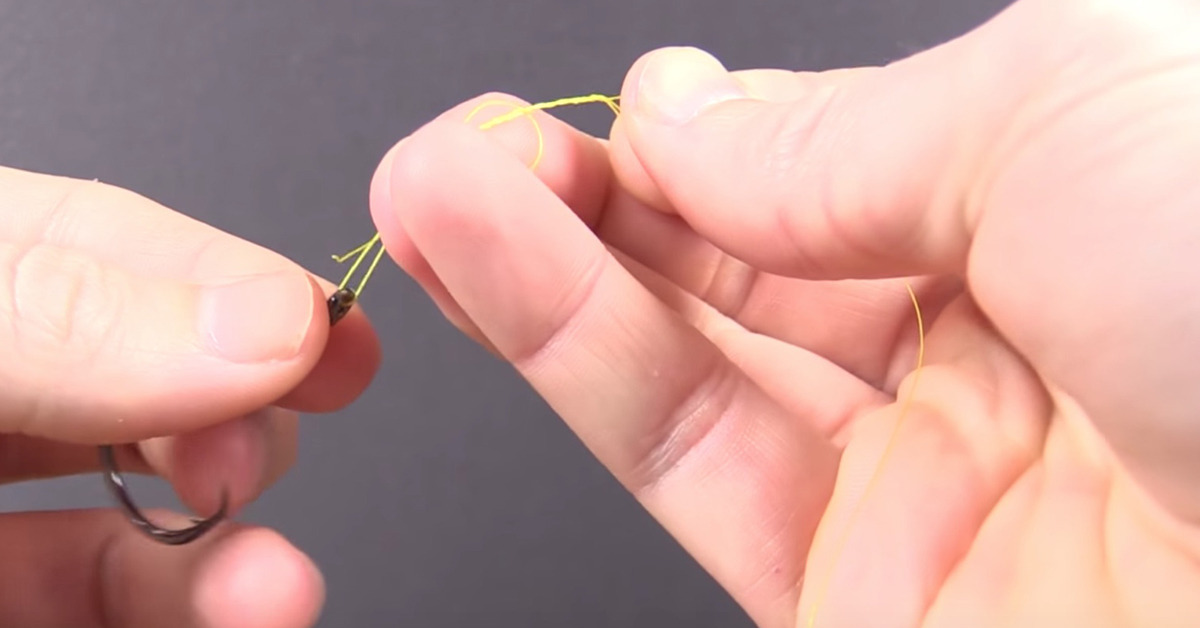
Step 6: Put Your Tag End Through the Loop You Made in Step 4 and Pull Finger-Tight
Take the tag end and put it through the loop you created during Step 4. Pull both the tag end and mainline finger-tight to make sure the knot begins to coil correctly.
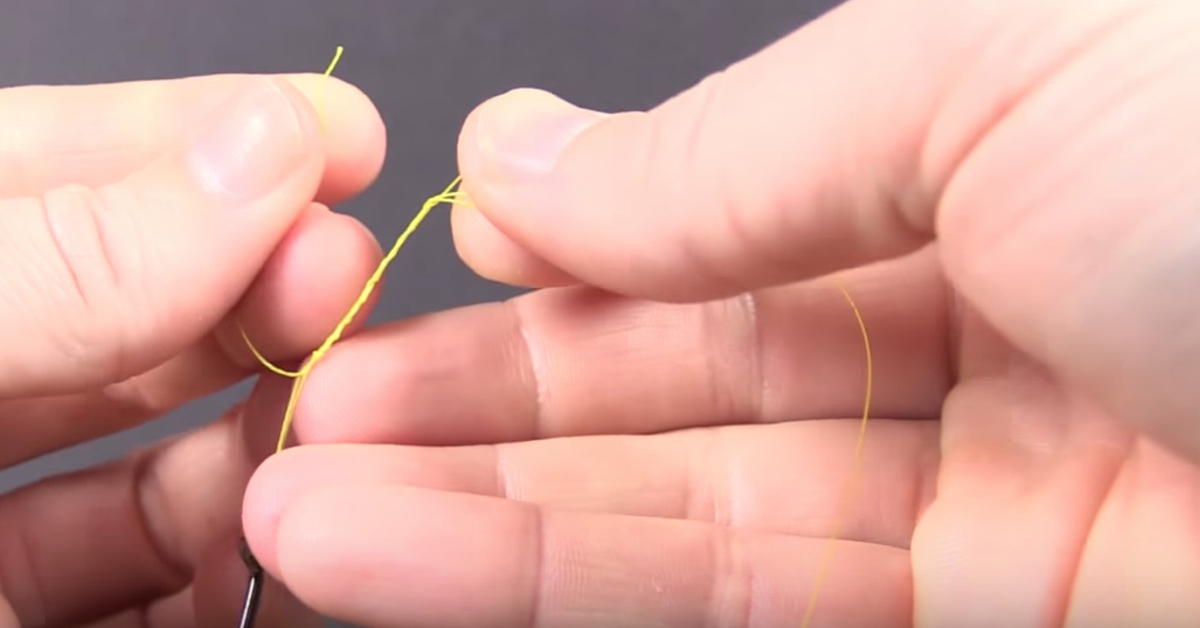
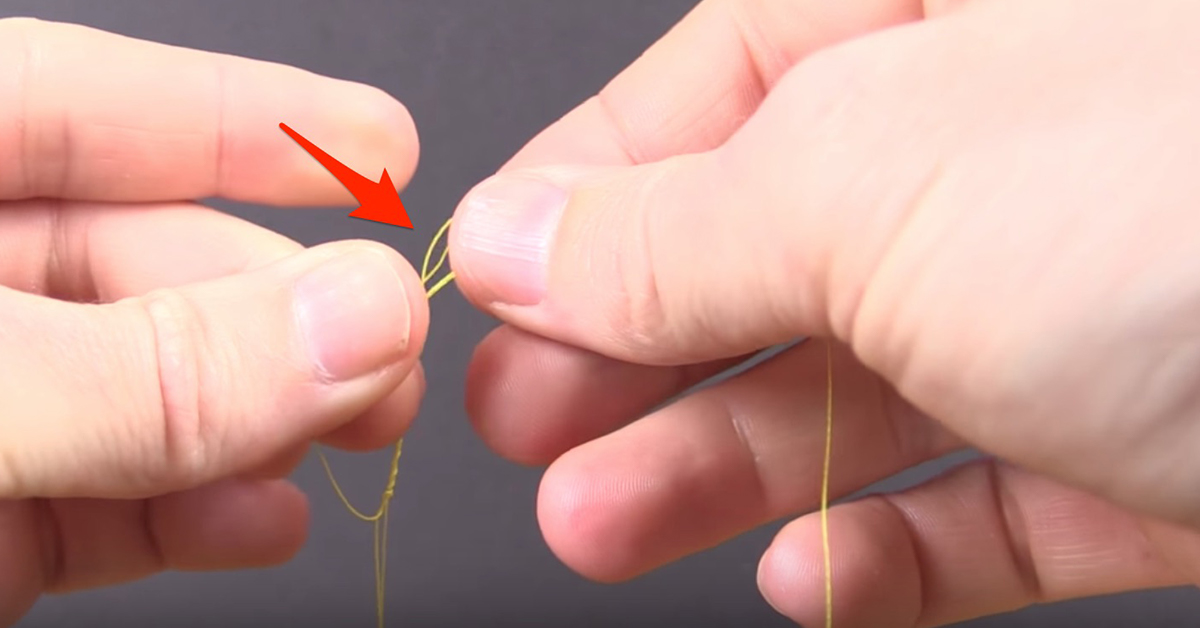
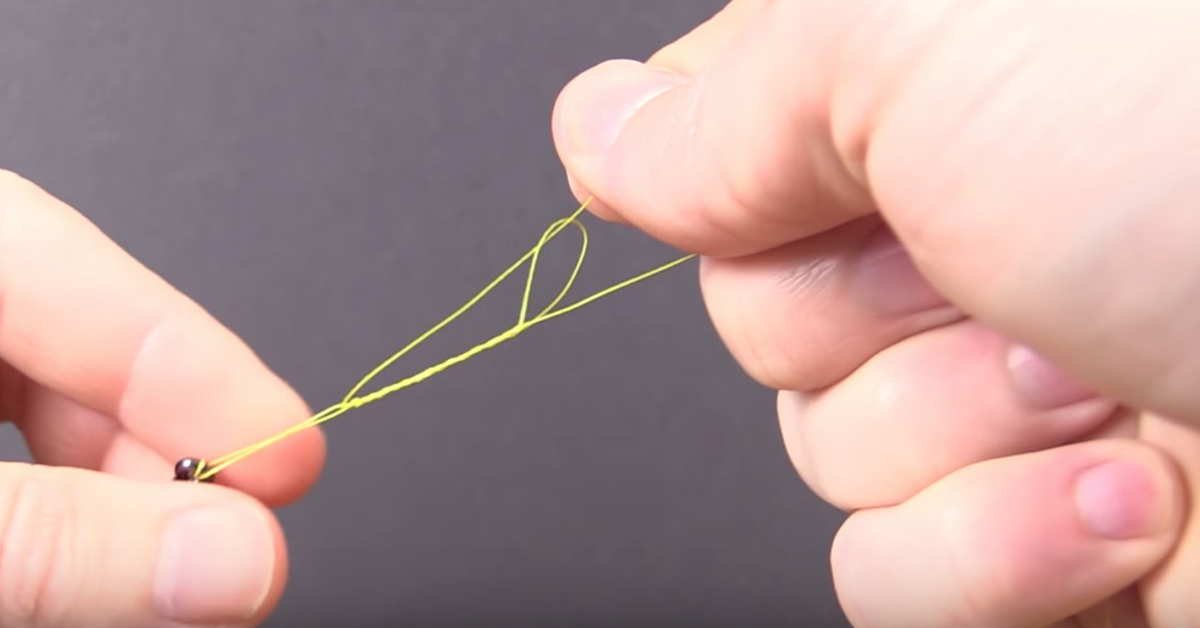
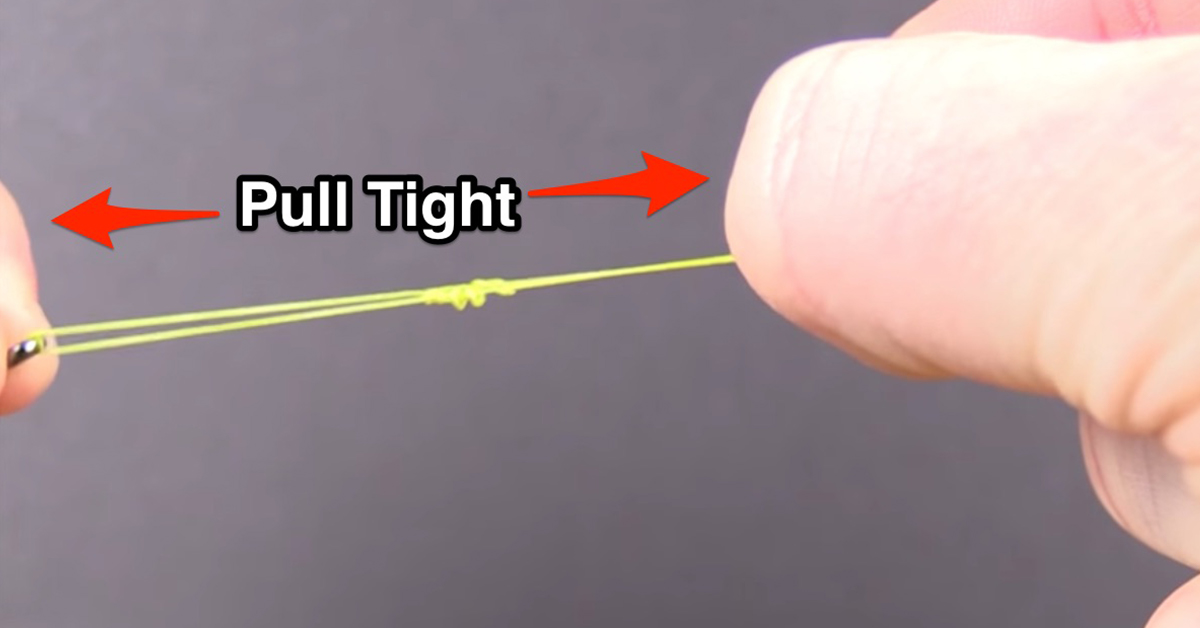
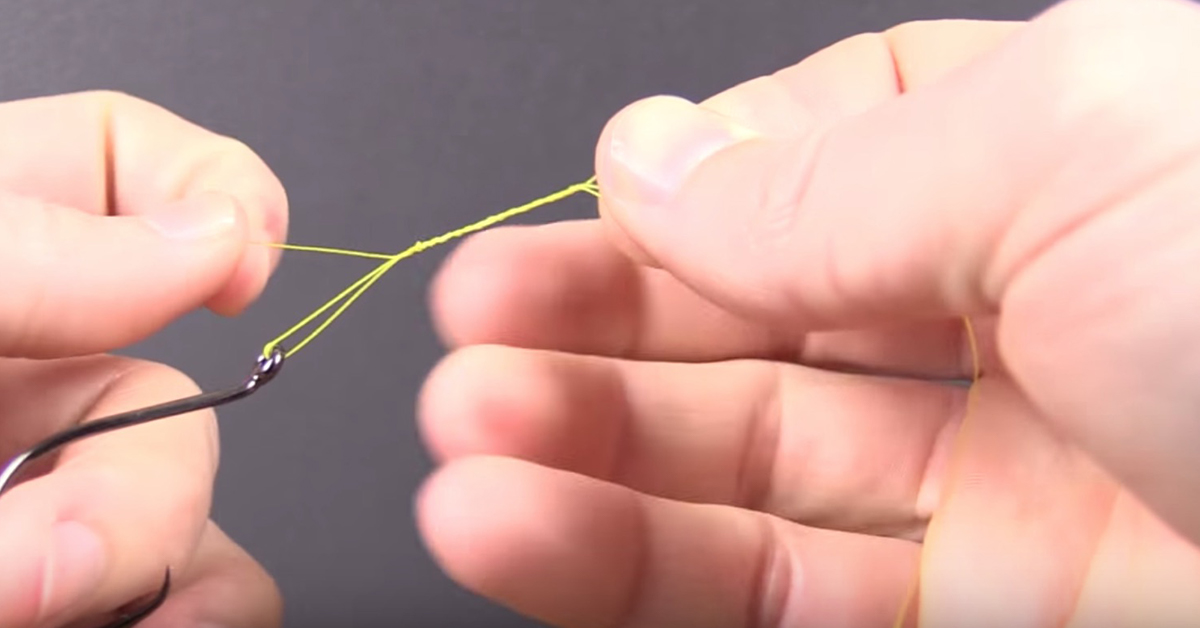
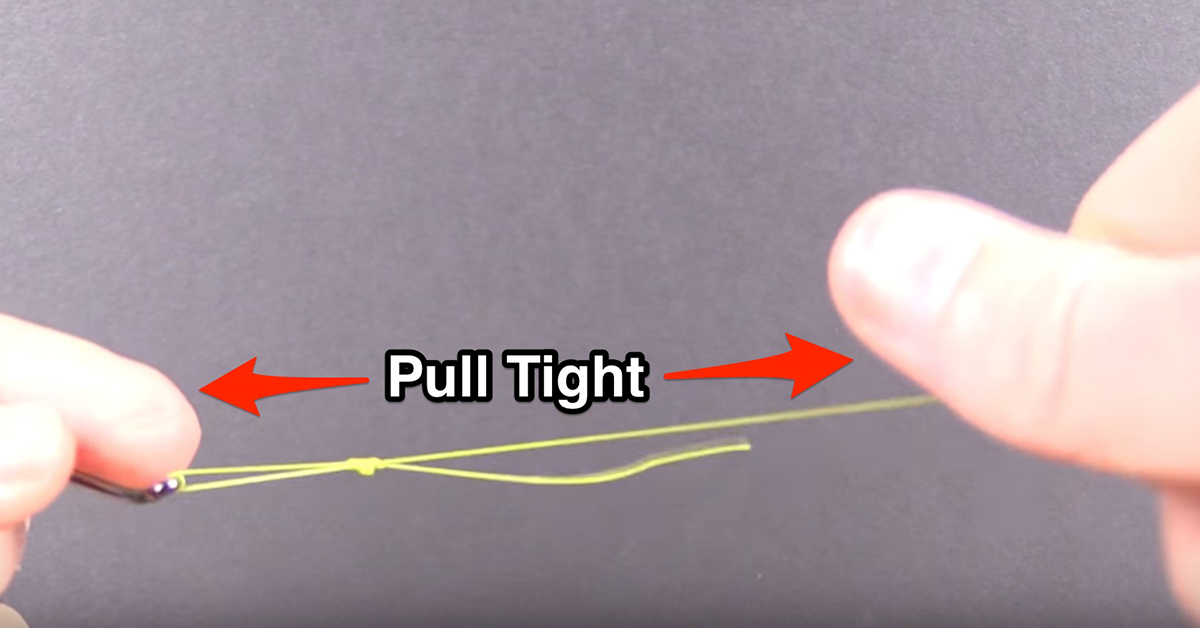
Step 7: Wet the Knot, Release the Tag End and Pull the Mainline Tight so the Knot Slides Down to the Hook. Cut the Tag End
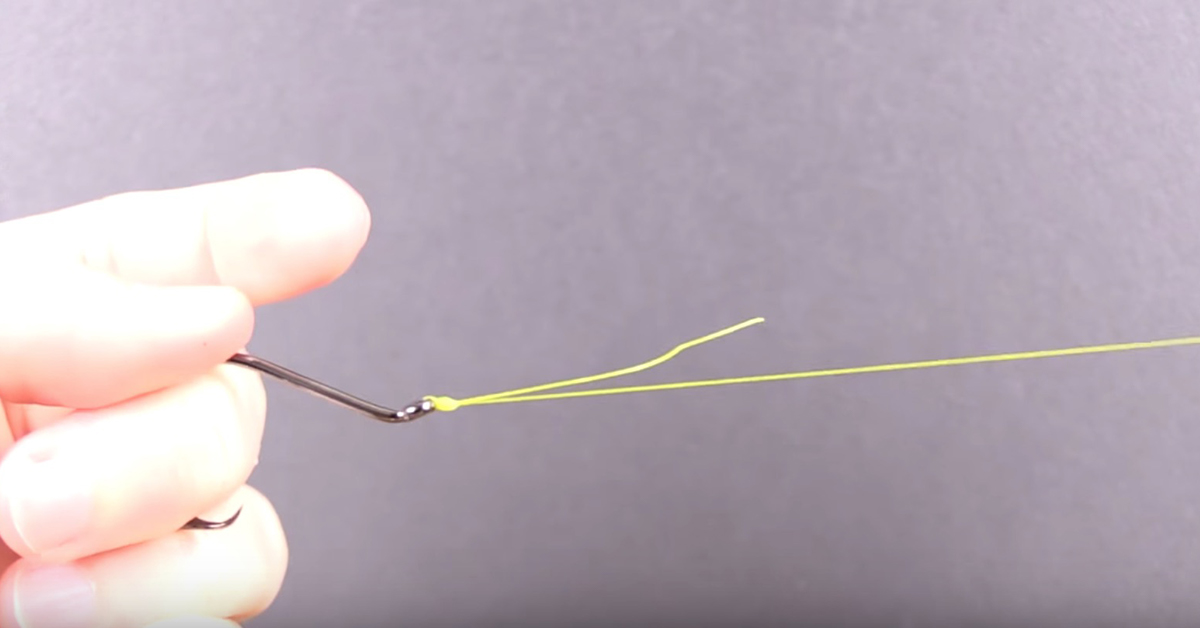
Wet the knot with water or spit and release the tag end. Then, pull the mainline tight so the knot slides down to the hook. Cut the tag end. Your San Diego Jam Knot is complete.
Go To Our Knot Testing Homepage [Full Knot Rankings]
San Diego Jam Knot Video Tutorial
The video below shows you the entire process on how to tie the San Diego Jam Knot (with a couple improvements for braided line).
Conclusion
The San Diego Jam Knot is fairly simple and strong. It’s a good knot for terminal connections (currently our 2nd favorite behind the modified uni knot) for connecting braided line to hooks.
For mono, I recommend using a loop knot like the Non-Slip Loop Knot if using artificial lures that need action in the water.
But if strength is the top concern, the Palomar Knot has proven to have a stronger breaking point compared to the San Diego Jam knot so far in our testing.
If you want to see the full knot ranking list, then check out our guide to the strongest fishing knots of all time.
If you have any questions or comments about this knot, let us know in the comments section below.
Tight Lines!
Go To Our Knot Testing Homepage [Full Knot Rankings]
Related Posts:
1. How to Tie the Rapala Knot [Step-by-Step Picture and Video Tutorial]
2. How to Tie the Blood Knot [Video & Picture Tutorials]
3. How to Tie the Non-Slip Loop Knot [Video & Picture Tutorials]
Then you’ve got to see this private fishing club! Here’s what you’ll receive today:Do YOU Want to Catch More Fish this Summer?
Click here to join today.
Related categories:
STOP WASTING TIME ON THE WATER!
Do what the “SMART ANGLERS” are doing and join the Insider Club.
Here’s what you’ll receive today when you join:
- Weekly fishing reports and TRENDS revealing exactly where you should fish every trip
- Weekly “spot dissection” videos that walk you through all the best spots in your area
- Exclusive fishing tips from the PROS you can’t find anywhere else
- Everything you need to start catching fish more consistently (regardless if you fish out of a boat, kayak, or land).





I tie the San Diego Jam knot a little differently. Holding in left hand, thread the line through the eye of lure or hook. Pull through about 6 inches, grasp both lines and wrap around left index finger then twist the tag end clockwise around both strands, remove the double loop from finger and feed tag end through. Really not different that your video, but just easier (for me).
Thanks for sharing the tip James!
Just a little info on this knot. Invented by crew on long range boats from San Diego. Prior to this knot connections for mono lines above 60# test were crimped that besides adding bulk to your rig had the issue of too tight a crimp damaging the line and too loose a crimp sliding off. The San Diego Jam Knot came along and worked well for line up to 150# test and removed the need for the crimp but could be tied in these heavy lines unlike some of the more secure but complicated knots. Tight lines.
Joe, please contact Berkley and interview a rep so they can explain the Gulp Alive vs Powerbait. And the most recent Gulp re-formulation.